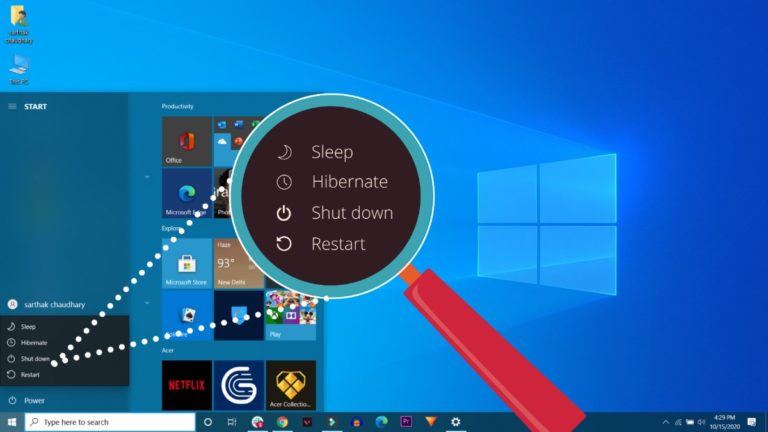
Let’s admit Everyone wants to turn on their computer as soon as possible. Well, there are many ways to improve Windows boot time, such as using SSD, disabling startup apps, etc., but the easiest way is to enable fast startup.
Fast startup is an option offered in Windows 10. This feature is useful if your computer takes a long time to boot into the login screen.
If you already have an SSD installed on your system, you may not notice the difference. However, if you have HDD and limited RAM, you can see significant improvements in Windows boot time.
Steps to enable Fast Startup on Windows 11
So, if you are interested in enabling the fast startup option on Windows 11, you are reading the right guide. In this article, we’ll share a step-by-step guide to enabling Fast Startup on the latest Windows 11 operating system. Let’s check
Step 1. First open the Windows 11 Start menu and find Control Panel. Then, open the control panel from the list.
Step 2. On Control Panel, click Hardware and Sound Options.
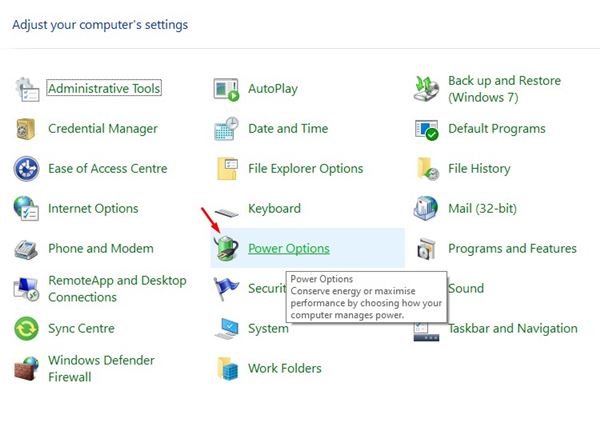
Step 3. On the Hardware and Sound page, click Power Options.
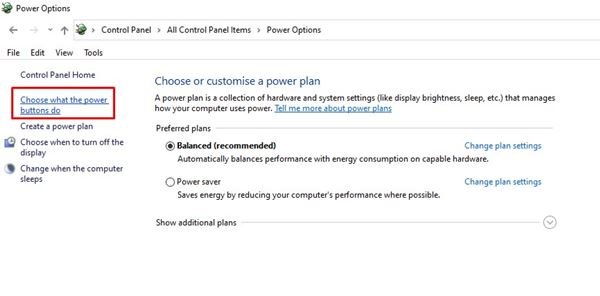
Step 4. Now, on the left pane, click on the Power button.
Step 5. On the next page, click Change settings that are not currently available.
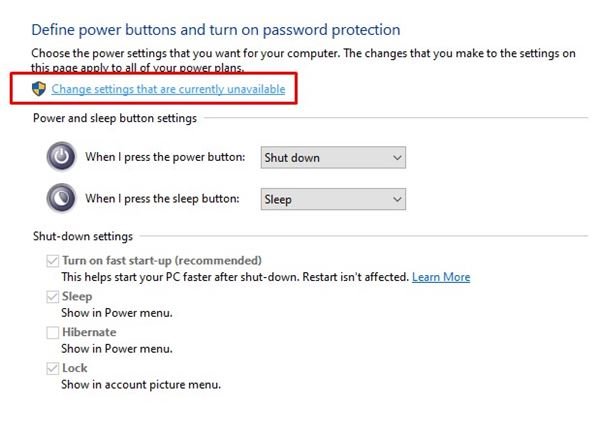
Step 6. On the next page, enable the option – Turn on Fast Startup (Recommended)
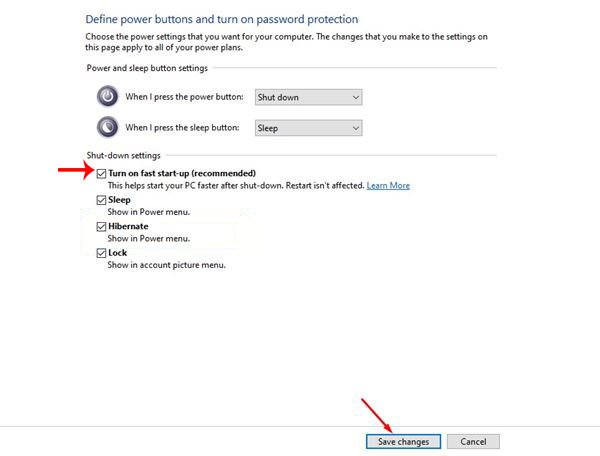
Step 7. Once complete, click the Save Changes button.
That’s it! You did This way you can enable fast startup in Windows 11.
So, this guide is about how to boot fast startup fast in Windows 11. I hope this article helped you! Please share it with your friends too. If you have any doubts about it, let us know in the comment box below.

