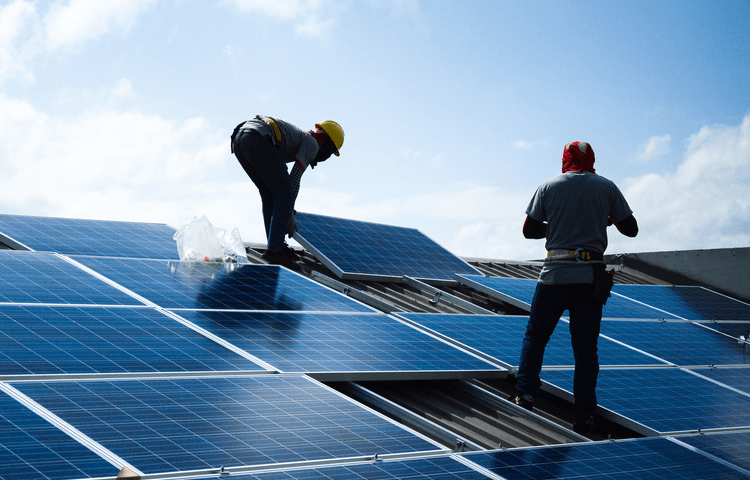
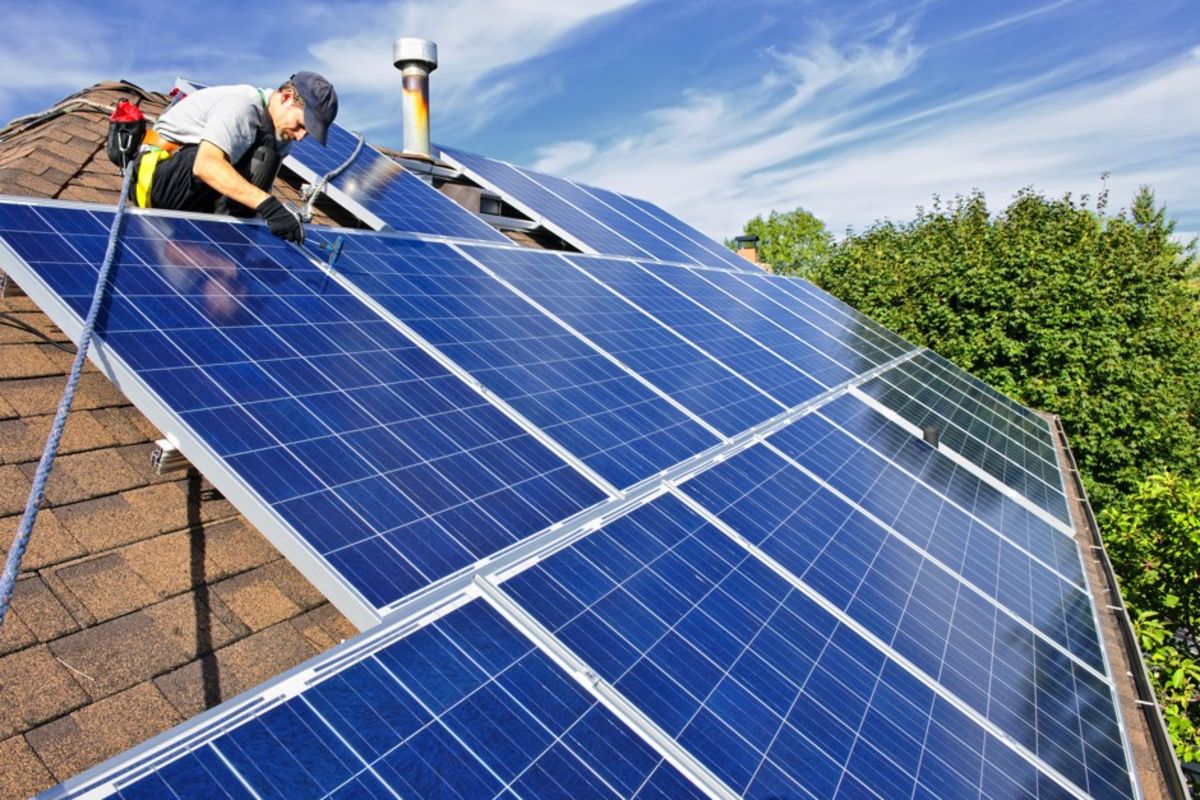
Joshua Pearce, a professor at Western University and co-author of the free ebook “To Catch the Sun” on DIY solar systems, highlights that the process of converting sunlight into electricity is not some mystical endeavor, but rather something that can be accomplished by individuals with modest technical skills. Whether you choose to construct solar modules from individual cells or build photovoltaic systems using commercially available modules, getting involved in solar energy is well within your reach.
The fundamental components of a solar panel consist of photovoltaic cells, tab wires, and an encapsulation material like glass. These materials are readily accessible online or at hardware stores in various sizes, enabling you to customize your panels according to specific project requirements.
Beginning with smaller panels is recommended, not only for simplicity but also because larger panels are actually more cost-effective to purchase than to make. Pearce suggests starting with a smaller panel that can power devices like a yard water pump. This allows you to gain experience in soldering and become familiar with the materials involved.
During the project, it is important to exercise caution as you will be working with electrical components and tools that carry certain risks. Although there is a slight risk of wiring mistakes, creating shorts, or sustaining burns from the soldering iron, these hazards can be mitigated by adhering to proper safety measures.
Once you feel ready for a larger undertaking, constructing a solar panel system to fulfill most of your home’s energy needs is entirely feasible. The economic advantage lies in performing most of the work yourself and then having an electrician connect the system to the grid, which costs approximately half as much as hiring a professional solar installer.

For such projects, it is advisable to purchase pre-made solar panels rather than assembling them from scratch, as it proves to be more cost-effective. Install the panels onto racks (which can be self-built) and position them strategically to maximize sunlight exposure. This type of system can power devices that operate on direct current, or with the assistance of an inverter, it can convert the electricity to alternating current for standard American electrical devices.
Testing the system with a multimeter is crucial, but it is recommended to involve a licensed electrician to ensure proper functionality. Additionally, connecting your system to the electrical grid requires the assistance of a licensed professional.
Step-by-step Guide:
- Acquire the necessary solar panel components: PV cells, tab wires, and encapsulation material (e.g., glass).
- Prioritize safety by wearing gloves and safety goggles.
- Measure, stretch, and cut the tab wires accordingly.
- Solder the tab wires to the front and back of the solar cells.
- Verify the connections using a multimeter.
- Ensure the wires are positioned away from the cells to prevent them from being sealed inside.
- Choose between laminating the cells for a shorter panel lifespan or encapsulating them in glass. Clean the glass, place the cells on the bottom sheet, and carefully position the other piece of glass on top.
- Seal the panel with caulk or glue.
- Connect your DIY panel to a DC-powered device and celebrate the achievement of powering a device with solar energy!


