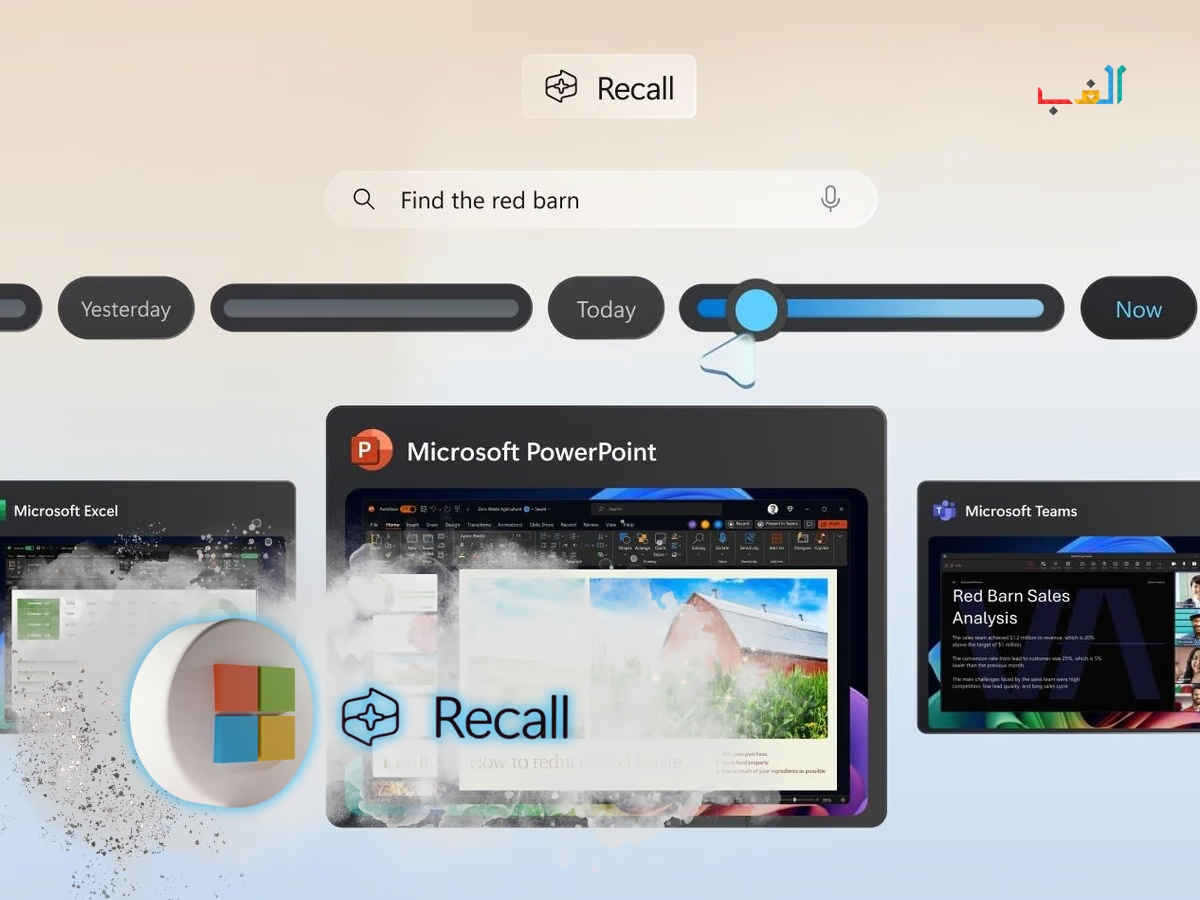
Microsoft’s new Recall feature for Windows 11 on Copilot+ PCs has sparked huge interest and plenty of concern. At first glance, it looks like a breakthrough: an AI-powered memory system that helps you jump back to previous tasks instantly. But the more users learn about how it works, the more they’re looking for ways to disable Windows Recall due to growing privacy and security worries.
In this guide, you’ll find a simple, human-friendly explanation of what Windows Recall actually does, why so many users are turning it off, and exactly how you can disable it on your own device.
What Exactly Is Windows Recall?
Recall works by taking periodic screenshots of whatever is on your screen and storing them locally on your PC. These snapshots build a visual timeline of your activity websites you checked, apps you used, documents you opened, and more.
The idea is simple: rather than trying to remember a file name or retrace your steps, you just “scroll back in time” and pick up where you left off.
Convenient? Absolutely.
But there’s another side to the story.
Why Are Users Worried About Recall?
While Recall has impressive potential, many people are turning it off for a few important reasons:
1. It May Capture Sensitive Information
Because Recall takes snapshots of your entire screen, anything visible can be saved passwords, private chats, bank details, confidential work documents, you name it.
2. Security Risks
If someone gains access to your PC (physically or through malware), they could browse through your stored snapshots and see everything Recall captured.
3. Possible Performance Slowdowns
Capturing, storing, and indexing snapshots in the background isn’t free it uses system resources, which may impact your PC’s performance.
For businesses, developers, and privacy-focused users, these concerns often outweigh the convenience.
How to Disable Windows Recall (4 Simple Methods)
If Recall isn’t for you, the good news is that you can turn it off completely. Here are the easiest ways to do it.
Method 1: Turn Off Recall Through Settings
- Open Settings (Win + I).
- Go to Privacy & Security.
- Scroll down and select Recall & Snapshots.
- Toggle Recall to Off.
- (Optional) Select Delete Snapshots to remove all previously stored data.
Method 2: Disable Recall Using Command Prompt
If you prefer the command line, open Command Prompt (Admin) and run:
DISM /Online /Disable-Feature /FeatureName:Recall
This uses the DISM tool to disable the Recall feature in your current Windows installation.
Method 3: Turn Off Widows Recall with Group Policy (Great for IT Admins)
- Press Win + R, type gpedit.msc, and press Enter.
- Navigate to:
Computer Configuration > Administrative Templates > Windows Components > Recall - Set Turn off Recall to Enabled.
Method 4: Disable Recall Through the Registry Editor
- Press Win + R, type regedit, and press Enter.
- Navigate to:
HKEY_LOCAL_MACHINE\SOFTWARE\Policies\Microsoft\Windows\Recall - Create a DWORD (32-bit) Value named DisableRecall.
- Set its value to 1.
Final Thoughts
Windows Recall is powerful, useful, and innovative—but it’s not for everyone. If you value privacy, work with sensitive information, or simply don’t want your PC keeping a visual log of your activity, disabling Recall is a smart and responsible choice.
Bonus Tip: If the Command Prompt returns “Unknown feature: Recall”, it simply means your version of Windows does not include the Recall feature—so there’s nothing to disable.


